
DIY Foil Collage Papers

Updated: 3 days ago

Creating your own foil collage papers with your own designs—by blending water-based paint pens with a splash of water to create beautiful watercolor effects—is a fun craft project that is easy for adults and children. While it is very simple, it can be messy as there is no way to keep your hands from getting paint on them when working with the wet napkin but as the paint is water based, it makes for easy clean up. This project can also be time consuming due to drying time between steps. In this post, I will take you through all the steps to make your own beautiful shiny papers.
First, you will need to gather your supplies.
Water based markers
White paper napkins
Small spray bottle
Cardboard or parchment paper
Paint brush
Mod Podge
Aluminum foil
Scissors

Step 1. Cover the surface you will be working on to protect it from paint or glue. This is an optional step, but I like the added protection. A drop cloth or an old sheet will do. Then spread out your cardboard or parchment paper. Place the unfolded napkin on top of the surface.
Step 2. Choose the color of markers you would like. I chose two, blue and pink, for the example, but you can use as many as you like and the pattern that you make, and color doesn't matter as long as you cover your napkin.

Step 3. The fun part begins. Using the spray bottle, saturate the napkin. You will want it to be very wet so that it is saturated and the colors start to run together. Then let the napkin sit for at least a half hour. This gives the colors time to soak through all the napkin layers. After thirty minutes or so, you can try to open the napkin up so that it's folded in half. As it is wet, it tears extremely easy so sometimes it's best to let it sit until it is mostly dry or dry.
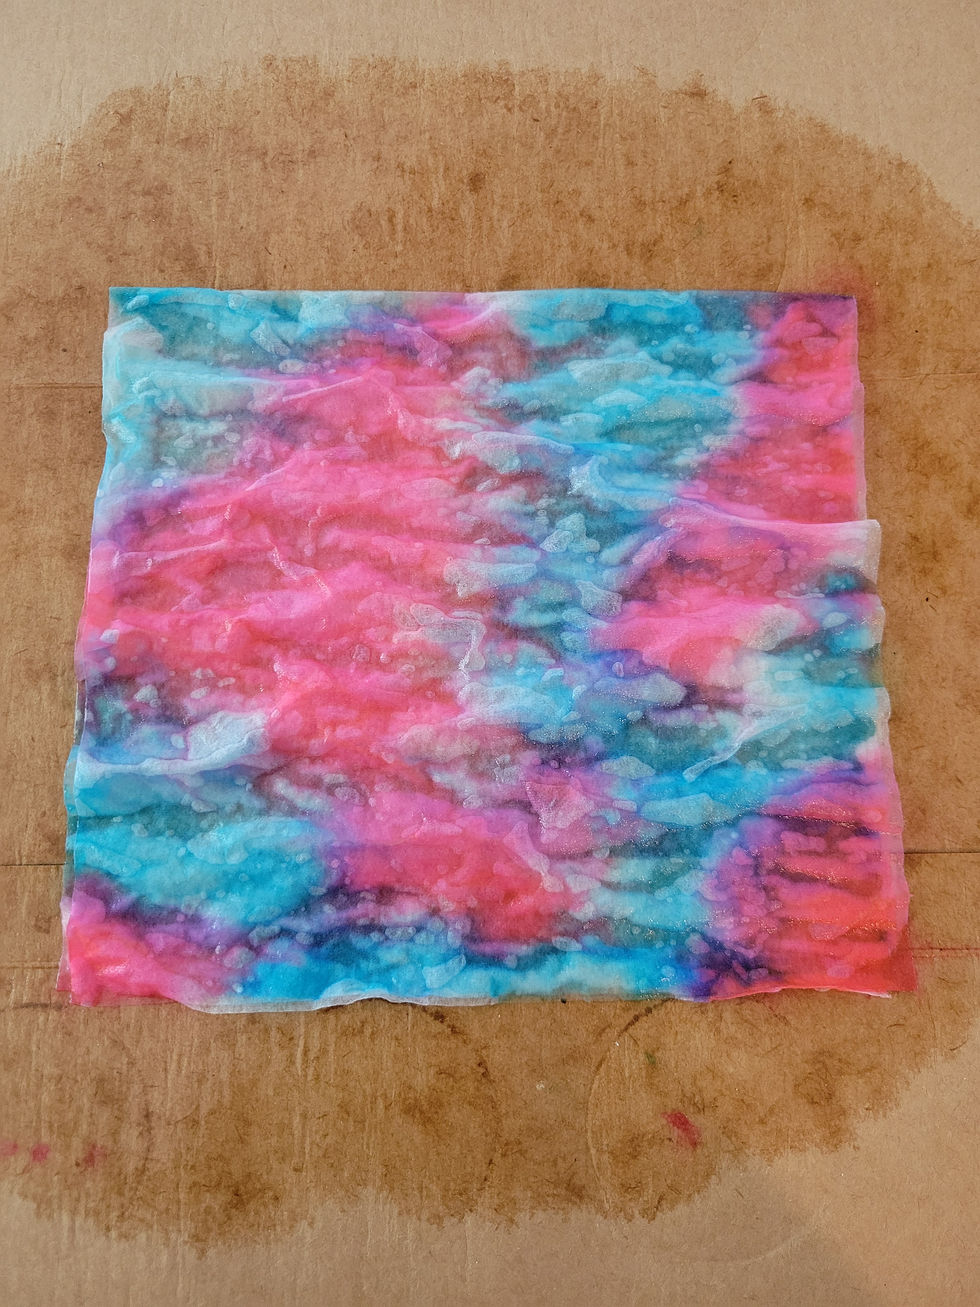
Step 4. Once dry, gently unfold the napkin entirely. Use scissors to cut along the visible fold lines, dividing the napkin into four separate pieces.

Step 5. Tear a piece of aluminum foil off the roll, making sure its big enough for all four pieces of the napkin. Make sure its SHINY SIDE UP. Using your paintbrush, brush a layer of Mod Podge on the foil and stick one piece of napkin on it. Press gently to make sure it covers all of the paste. Add another layer of mod podge on top, making sure the napkin is flat. There will be wrinkles - this is normal. If there are air bubbles, just brush over that area until the bubble has flattened out. Repeat this step three more times with the other three napkin pieces. Set aside to dry completely. This could take two hours or more.

Step 6. Once fully dry, some of the foil should be visible through the napkin giving it a colorful shiny appearance. Carefully cut the square pieces out. These custom embellishments are now ready to be glued onto mixed-media canvases, greeting cards, or art journal pages.


