DIY Paint Stamps


Making your own paint stamps from items you have in and around your home is an easy, fun, and economical way to create custom patterns for your art projects.
Supply List:
Paint
Paint brush
Paper
Leaves
Plastic bag
Used paper roll
Small wood block
Rubber Bands
Corrugated cardboard
Acorn caps
Makeup wedges
Bubble wrap
Q tips
Wine cork
Painting Tips:
Keep your layers thin. Use a brush or sponge to apply paint to your stamp
Test before you start your project. You should always have scrap paper on hand to test your stamps so you can see what the design will look like and gauge how firmly to press.
Clean your stamps after you use them. Wash the stamps before the paint dries, if you plan on reusing them. This makes them last longer, although some stamps such as cardboard or bubble wrap may only be good for one use.
Leaves. Paint the back side of the leaf as the pattern is more pronounced than it is on the front. Gently press the leaf, paint side down, to your paper. Make sure you press your fingers on the entire leaf. Pee the leaf back to see the pattern and repeat as needed.

Plastic Bag. Using a thin plastic bag (like a produce bag from the grocery store), fill it with air and twist and tie the ends to trap the air in. Squeeze drops of paint in different colors onto your paper. Dab the paint drops with the plastic bag to create texture. Continue dabbing until you have the desired effect and coverage.

Used Paper Roll. Dip one end of the used roll into the paint until the entire end is covered. Then press it onto your project. Make sure the paper roll is not overly saturated because the paint could run or smudge your artwork.

Wood Block and Rubber Bands. Wrap a small wooden block with rubber bands. You can space the rubber bands evenly; criss cross them or twist them. Be careful not to overlap them too many times or your print may become uneven. Use a sponge or brush and apply paint to the rubber bands. You can also spread a thin layer of paint onto a paper plate to dip the wooden block into. Press the block onto your paper to make your pattern.

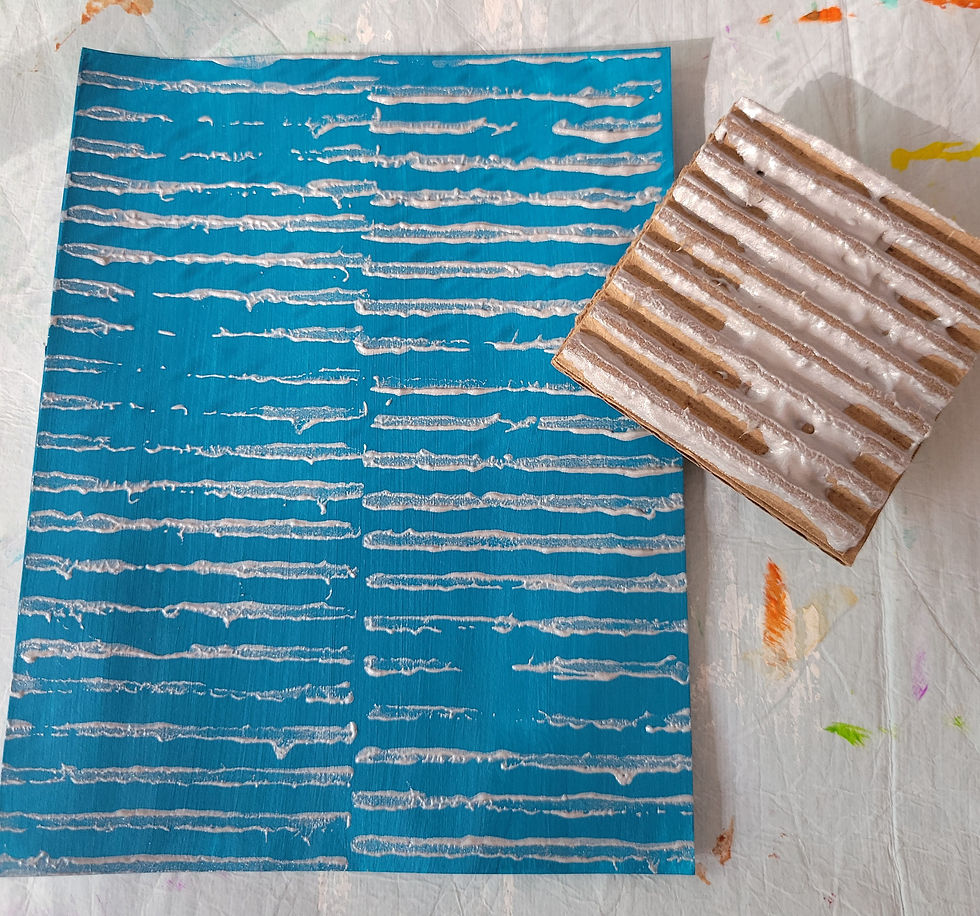
Corrugated Cardboard. Peel away the top flat layer of paper from one side of the cardboard piece exposing the corrugated texture. Cut the cardboard into the desired size and shape. You can cut 3 or 4 smaller pieces and glue them one on top of the other. then glue them to the back side of the cardboard piece to make a small handle or knob. Apply paint to the cardboard stamp with paint or dip it into a thin layer of paint. Press it gently onto your project to create patterns.
Acorn Caps. Gather some acorn caps from outside. If you can, try to pick caps that have little "handles" on their tops. This makes them easier to stamp with. clean the caps and let them dry. When ready, hold the acorn cap by the handle and dip into some paint. Then press firmly onto the paper. Repeat until you have the pattern you want.

Makeup Wedges. Pick a side you want to use or end of the wedge and dab it into the paint. Press the wedge onto your project. Do not use too much pressure or you could get smudges or thick drops of paint.

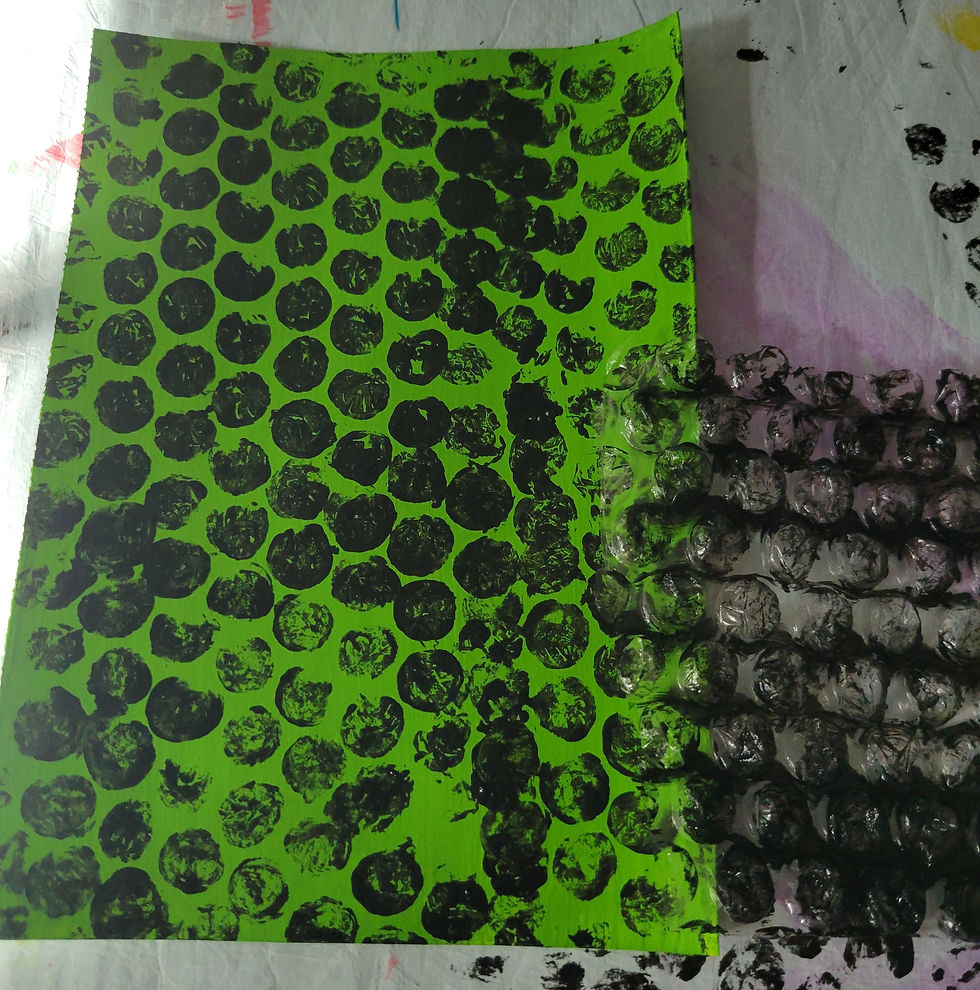
Bubble Wrap. Cut a small piece of bubble wrap and carefully hold it by its edges. Use a paint brush and apply paint evenly onto the bubbly side of the plastic. Flip it over and press lightly onto your project. Lift it carefully to avoid smearing the paint.
Q tips. You can use one Q tip at a time or bundle a few together with a rubber band. Dip them into paint and press lightly onto your paper.

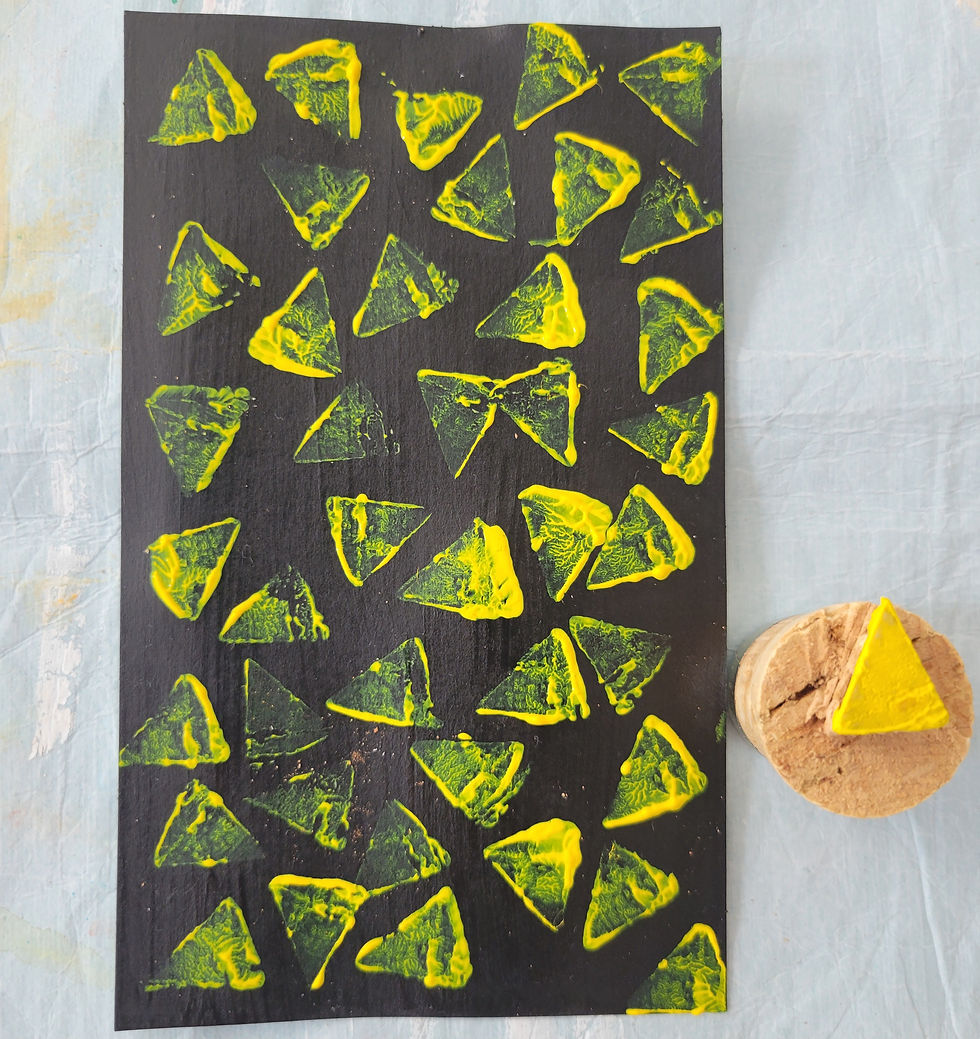
Wine Cork. You can use a wine cork as is or you can cut a shape into one end with a utility knife. Press the cork firmly into the paint and then onto a piece of paper. Lift straight up to avoid smudges.