
Make Your Own Dried Pansy Stickers

Updated: 3 days ago

Are you looking for a pressed flower craft project that is simple? Making your own floral stickers from dried flowers is great way to preserve flowers from your garden or yard for creative projects such as junk journals, scrapbooking, and greeting cards or letters. It is also a fun and easy craft for kids. This article will give you step by step instructions on making stickers from dried pansies with a few supplies you should have on hand.
This year, I had an abundance of beautiful purple and yellow pansies in my flowerpots and wanted to preserve them to use in a creative way. First, I snipped the flower heads that were fully open with little to no damage to the blossoms. Next, I laid the blossoms flat between two pieces of white printer paper and sandwiched the paper in the pages of a large, thick, heavy catalog. After a week, the pansies were completely flat, dry and ready for use in my crafts.
When making stickers with pansies, or dried flowers, it's important to make sure that they are completely dry before starting. If there is any moisture, your project could be ruined because if the flowers are damp, the adhesive could be damaged and over time, mold may develop between the layers of tape.

List of supplies:
Clear packing tape
Parchment paper (some people use wax paper, but I don't recommend it. more below) *
Dried pansies or whatever flower you have chosen
Scissors
Tweezers
A ruler or credit card for removing bubbles and wrinkles
*I prefer using parchment paper because it is treated with silicone which makes it nonstick. The clear packing tape peels easily and it does not stick to the parchment sheet.
*Wax paper does work but, it is coated with paraffin wax and can leave a waxy residue on your sticker. It also can tear easily, so you have to be much more careful.
Step 1. Cut a piece of parchment paper larger than your pansy and lay it flat on your workspace. You will want it large enough that when you cut your finished sticker out, there will be at least a quarter of an inch border around your flower.
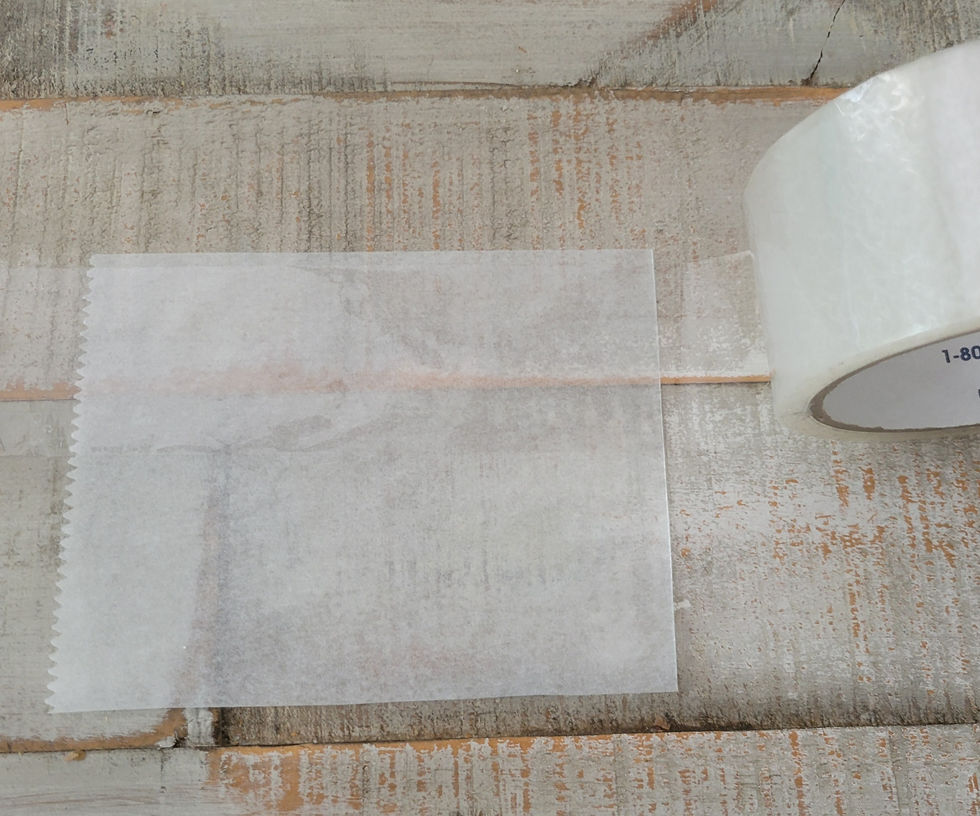
Step 2. Cut the clear packing tape the same size as the parchment paper and stick it onto the paper. Sticky side down. Press firmly and then smooth out any wrinkles or bubbles with your ruler or credit card.
Step 3. Place the pansy right side up, on top of the tape and press lightly. If you are worried about damaging the flower petals, you can use the tweezers to place the flower.

Step 4. Cut a second piece of clear packing tape and place it gently on top of the flower. Sticky side down. Press lightly to flatten it. Then, using your ruler or credit card, very gently, smooth over it to remove any air bubbles or wrinkles.
Step 5. Your sticker is almost finished! When you cut your sticker, make sure to leave about a quarter of an inch border around the pansy (see picture below). As you are using a flower, even though it is flat, there will probably be a small bump. If the border is not large enough, the tape will not seal properly.

Step 6. To use, gently lift a corner of the parchment paper away from the tape. Peel and stick to your craft project. You can use tweezers in the peeling process if it makes it easier to separate the layers.

Now that you have made your pressed flower sticker, here is a list of ideas for how you can use it.
Scrapbooking
Junk journals
Custom bookmarks
Sticker book for kids
Handmade greeting cards
Gift labels
Framed art
Refrigerator magnet


