
Paint Resist Art Project


Paint resist art is the process of using tape and paint to create beautiful patterns and is a fun and easy project for both children and adults. The end result can be a decorative piece for your wall, a greeting card, refrigerator art, used to decorate a piece of furniture, a wall, and much more. This article will give you step by step instructions on how to create your own paint resist art masterpiece and I'll share some examples of my projects
Supplies Needed:
Paper, canvas, or surface of your choice
Paint (I usually use acrylic)
Painters tape (Washi tape works well too)
Paint brushes
Water to clean paint brushes
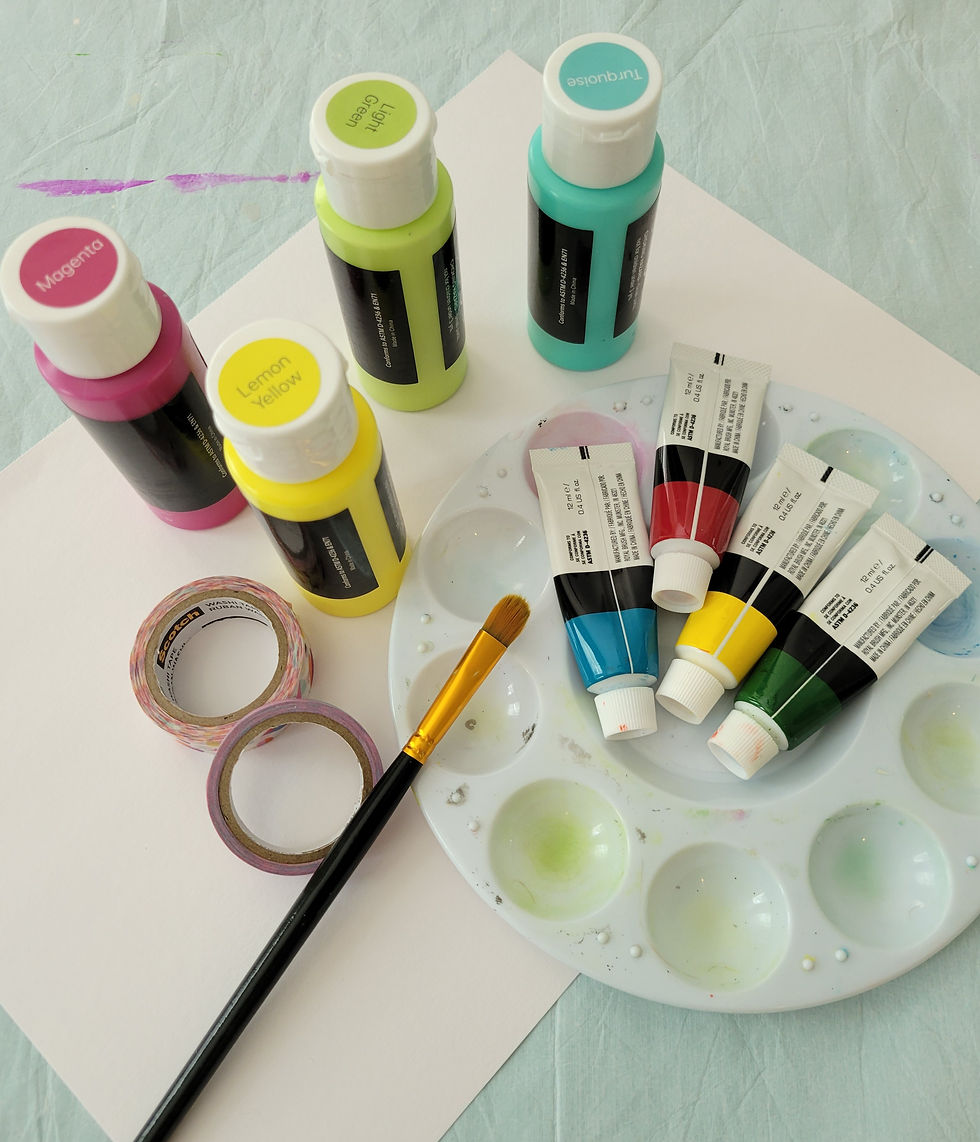
Step 1. Decide what surface you want to paint on. The best surfaces are usually watercolor paper or stretched canvas. If the surface is too thin, it can absorb too much moisture and be prone to tearing when the paint is peeled off. Other surfaces that I sometimes use are rocks, sticks, and cardboard. Although, when I use cardboard, I usually give it a coat or two of paint as it seems to make it easier to peel the tape without tearing the cardboard surface.
Step 2. After you have chosen what you will be painting, put down a drop cloth, sheet, or paper covering on a table, floor, or wherever you will be using the paint for protection. If you want a background color, paint the entire surface with one or two coats. Just be sure to let it dry completely before moving on. Let it dry at least a couple of hours. Sometimes I let it dry overnight. If you are leaving the surface as it is, move on to step 3.
Step 3. Start taping off your project. There is no rule on this. Just tape to the desired number of shapes you want. I usually tape in a diagonal pattern, so I end up with triangles and diamond shapes, but some people use squares and others make intricate designs. When you are finished, make sure your tape is secure by pressing your fingers across each piece to be sure there are no gaps for the paint to squeeze under. This will ensure that your tape lines are neat and tidy.

4. Pick your paint colors. Again, there's no rule how too many or too little. One color or ten; it's up to you. I usually pick no less than three, but it all depends on what your desired end result is.

Step 5. Start painting. Depending on the quality of paints and the look you want, you may only need one or two coats. If paint coverage is poor, it could take three or more. Let the paint dry completely between coats and after the last coat, let it dry for at least two hours or overnight. The drier the piece is, the less likely it will be to tear when removing the tape.

Step 6. Remove tape. When your project is thoroughly dry, start peeling off the tape. Make sure to peel very slowly as this will protect your paper and keep from pulling paint off the piece. Once the tape is removed, your artwork is ready to display.

A Few Of My Projects
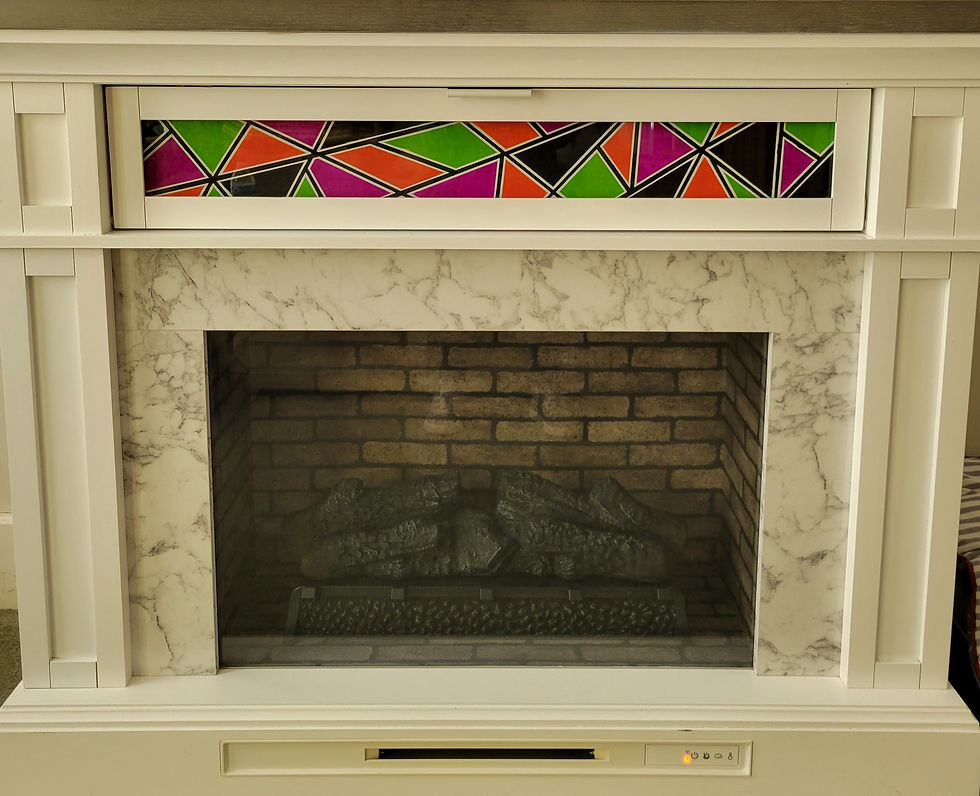
My current paint resist project is on my electric fireplace. It has a long rectangular window; kind of like a shadow box that can be used to display knickknacks. I thought some paint resist art would look nice in the window and give it some color.
I used cardboard because I needed something a little sturdy and stiff to "stand up" in the window. As the cardboard piece was kind of long, painting the one side caused it to bow so I gave both sides a base or background color. This helped flatten out the cardboard and made it easier to work with. My first piece had a black background with multicolor accent colors. It looked a little like stained glass. I liked it so much, I decided to do another.

The next one had a white background with shapes painted in dark blue, light blue, and green. The colors looked kind of "beachy". Perfect paint resist art decoration for summer.

Next was a holiday theme for Halloween. Paint colors were black, purple, orange, and green on white. Once the initial painting was done and the tape peeled off, I felt there was too much white so used tape on the white space to paint thin black lines.
The last one, I tried to be a little creative and do an ocean theme with an orange sun setting below the blue water. When planning where to put my tape, I didn't take into account how much of the picture the frame lip would cover so a lot of the water and sky colors aren't showing. Not too bad but needed better forethought.

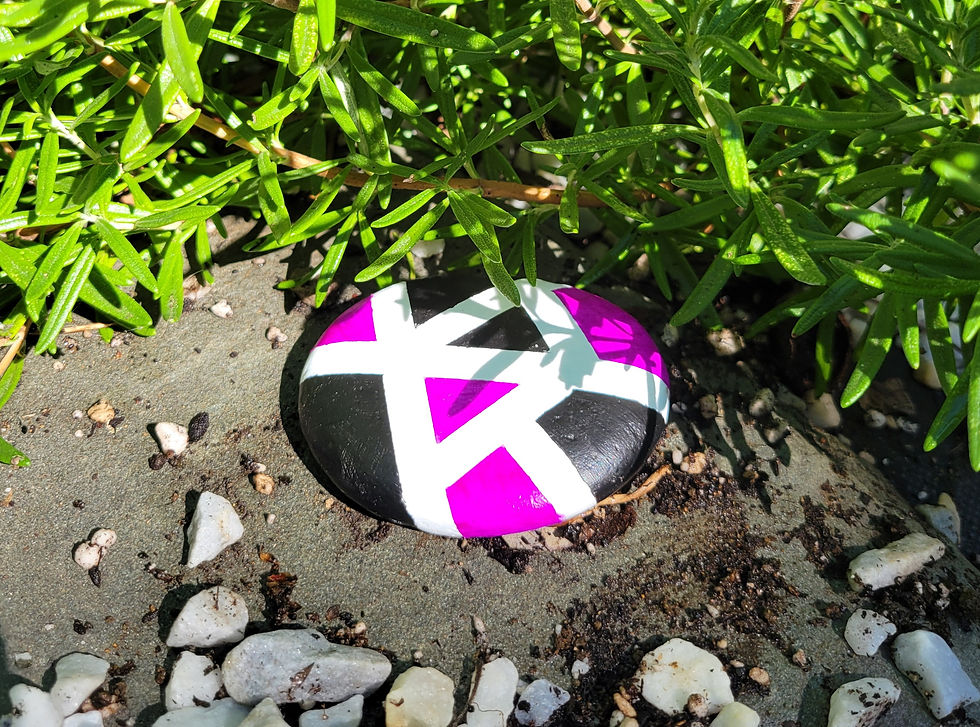
A really great project for paint resist art for kids is rocks. When my kids were young, they loved painting rocks and adding tape made it extra fun when it was time to peel it off. The rocks also make nice decorations for windowsills, wall shelves, and look very pretty in the garden.
Another fun thing to do with paint and tape is walking sticks. It can require a little extra work because once you have your stick the size you want, you need to take the bark off and sand it until its smooth. I made some for my kids when they were young which made playing outside and taking walks a little more fun and exciting.

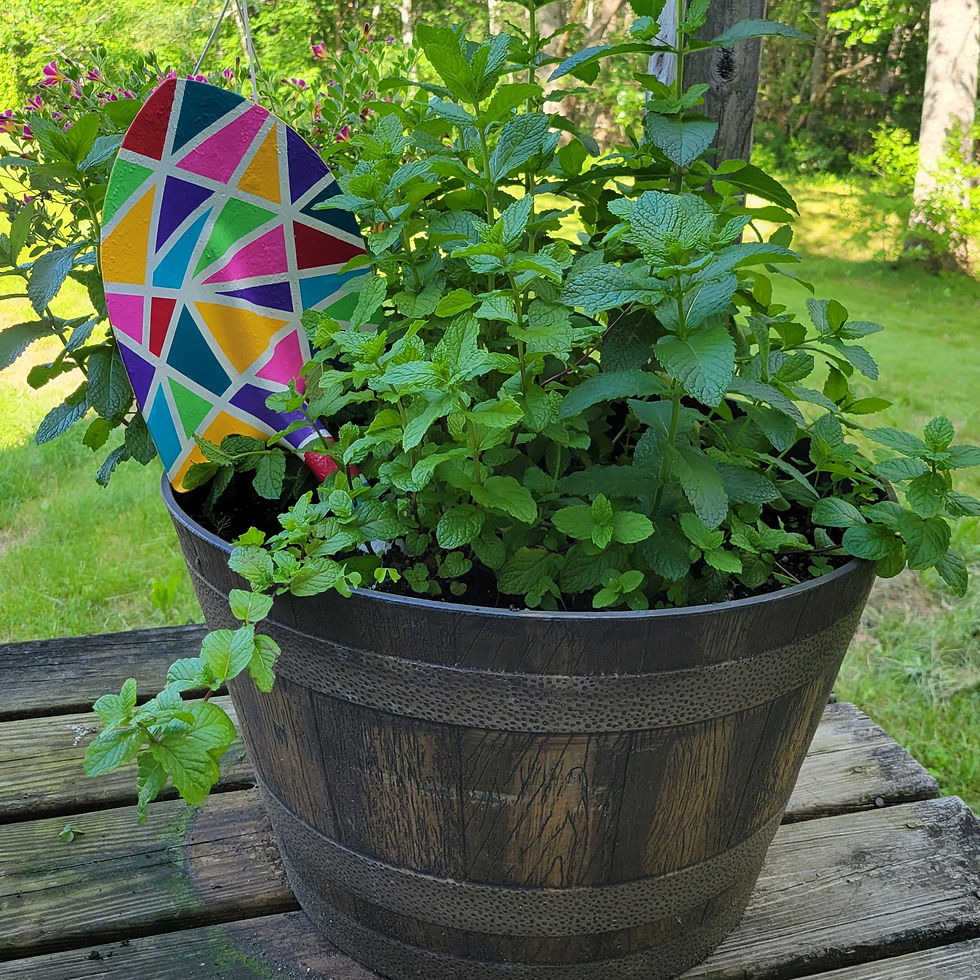
The last paint resist project I'll share is one I have up upcycled from a shovel with a broken wooden handle. I sanded and washed the entire shovel. Then I taped it, painted it and sealed it. It ended up in a plant pot for decoration.
I almost forgot, one of the first paint resist art projects I did was years ago for my kids. I wanted to make their room a little more exciting, so I did an entire wall. It was time consuming but worth it.

I hope these instructions have been helpful and the projects given you some inspiration for your own paint and tape artistic creations. Thank you for stopping by.


